CAN Application
CAN Introduction
CAN (Controller Area Network) is a multi-master, half-duplex, differential serial field bus developed by Bosch in 1986 for automotive ECU communication and later standardized as ISO 11898. It is designed for high reliability, strong real-time performance, and anti-interference short-distance communication in embedded scenarios. CAN only defines the physical layer and data link layer, without an upper network or transport layer, resulting in very low protocol overhead.
Preparation
- A Rhino Pi A1
- Dupont wires
- A Windows PC
Connection
- Short the Rhino Pi A1 CAN0 and CAN1 lines
- Connect CAN0_H to CAN1_H
- Connect CAN0_L to CAN1_L
| No. | Board Silk Screen | GPIO/System Mapping | Description |
|---|---|---|---|
| 21 | CAN_H0 | CAN_H1 | Actually corresponds to can1 |
| 22 | CAN_L0 | CAN_L1 | Actually corresponds to can1 |
| 23 | CAN_H1 | CAN_H0 | Actually corresponds to can0 |
| 24 | CAN_L1 | CAN_L0 | Actually corresponds to can0 |
Note
The CAN0 and CAN1 silk screen labels on the Rhino Pi A1 board do not correspond directly to the system CAN0 and CAN1 names. Refer to the table above for the actual mapping.
Test
Open the web browser on the Windows PC and enter the Rhino Pi A1 device IP followed by
:8000to access the device web page. Username/password:aidlux/aidlux.Run the following commands to configure CAN0 and CAN1:
# Gain root privileges
sudo su

# Configure can1
ip link set can1 down
ip link set can1 up type can bitrate 500000
ip link set can1 up

# Configure can0
ip link set can0 down
ip link set can0 up type can bitrate 500000
ip link set can0 up

# Check configuration
ip --detail link show can0
ip --detail link show can1
You should see output similar to the example below: 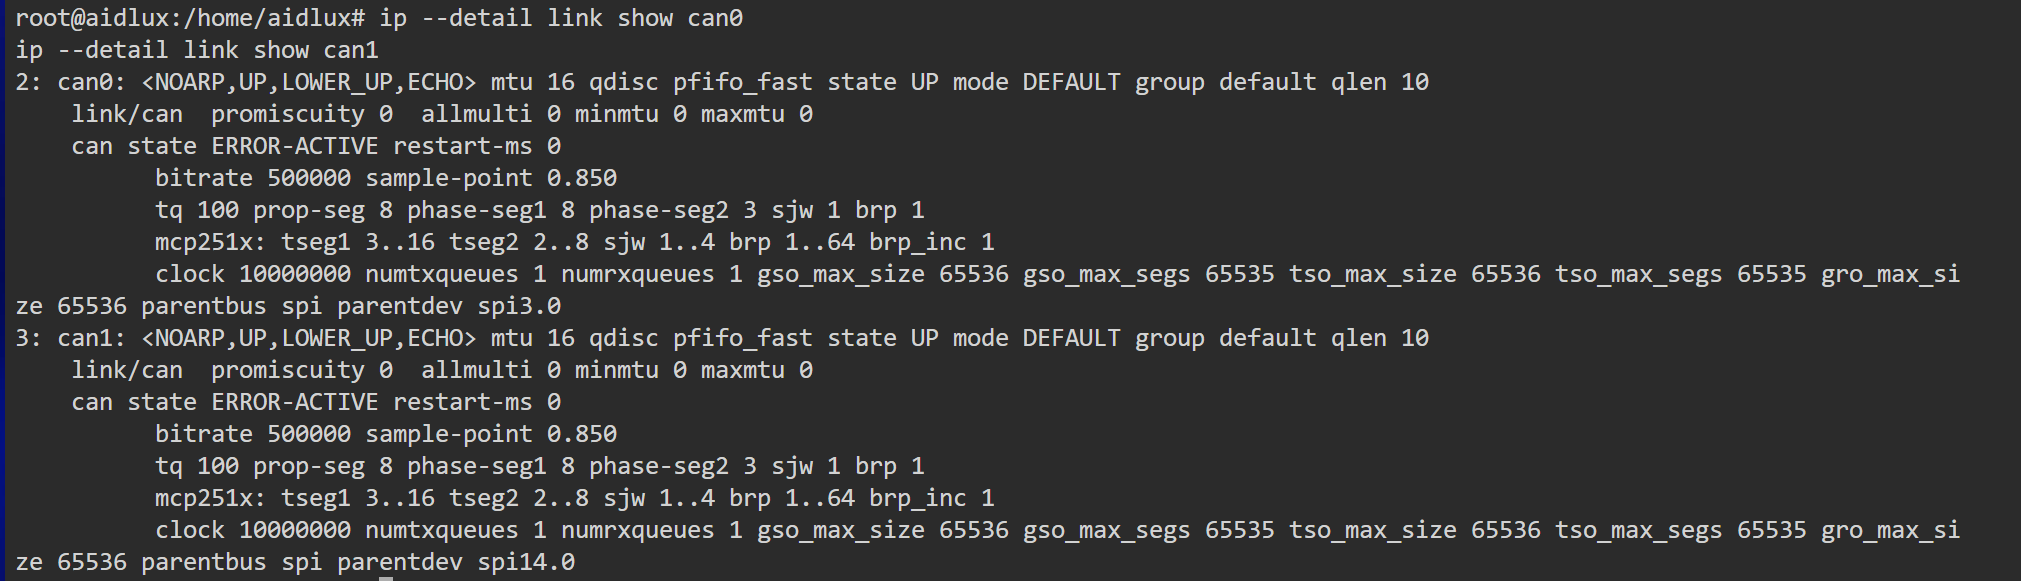
- Install the
cansendandcandumptools:
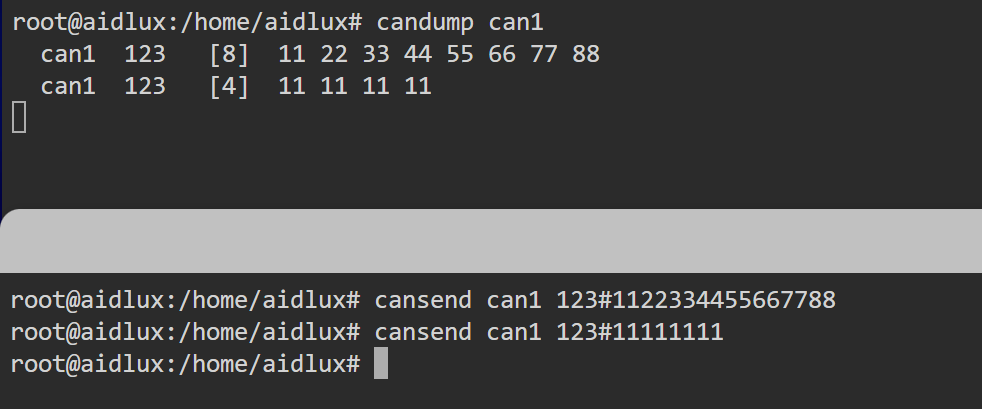
sudo apt install can-utils- Open two terminals on the web page and run:
# Terminal 1
candump can1
# Terminal 2
cansend can1 123#1122334455667788
cansend can1 123#11111111
You should see output like this: