I2C
提示
如下案例使用犀牛派 X1 的 树莓派 40PIN 引脚,具体位置请参见 硬件信息。
I2C 简介
I2C(Inter-Integrated Circuit;发音为 "eye-squared-see "或 "eye-two-see"),又称 I2C 或 IIC,是飞利浦半导体公司于 1982 年发明的一种同步、多控制器/多目标(历史上称为主/从)、单端、串行通信总线。
准备
- 一块犀牛派 X1
- 一个 OLED
连接
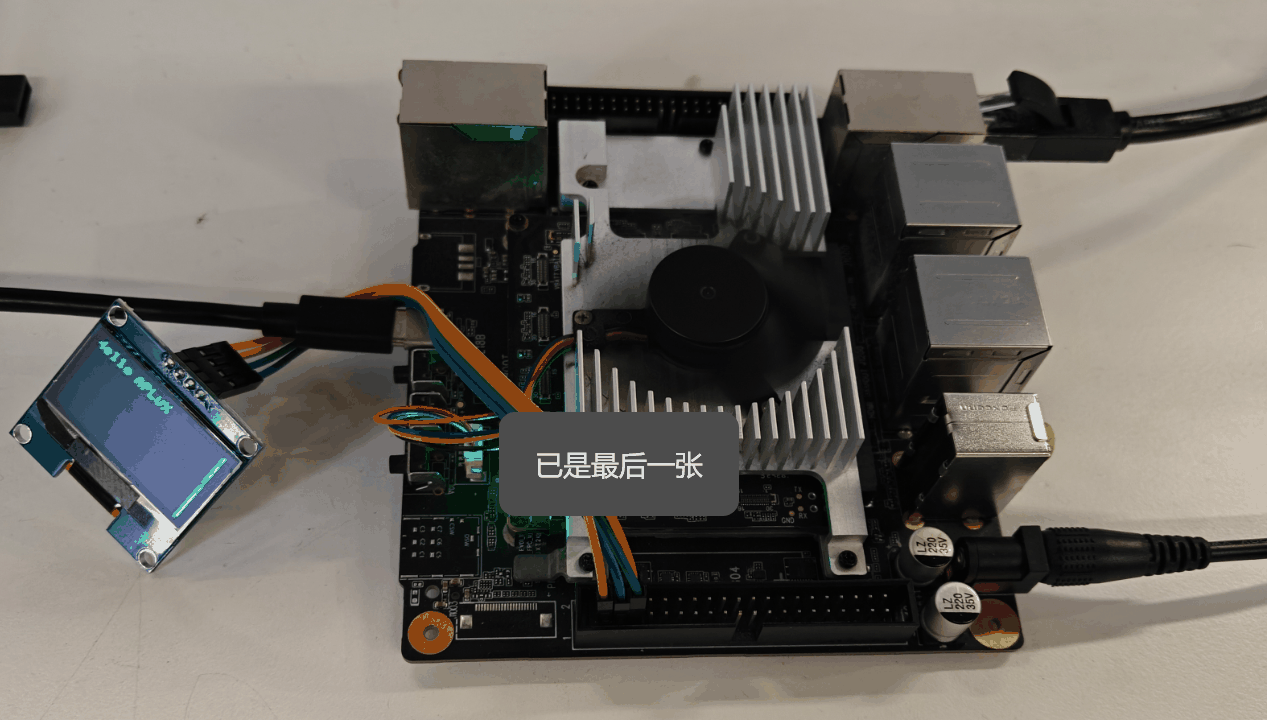
按照以下方式连接 犀牛派 X1 和 OLED
| 犀牛派 X1 | <--> | OLED |
|---|---|---|
| PIN_1(VCC) | <--> | VCC |
| PIN_3(SDA) | <--> | SDA |
| PIN_5(SCL) | <--> | SCL |
| PIN_6(GND) | <--> | GND |
测试
- 打开终端,在终端中输入命令安装必要的 Python 库。
shell
sudo pip3 install python-periphery- 确认 I2C 通道以及 OLED 地址。
I2C 通道:1 即:/dev/i2c-1
OLED 地址:0x3c
- 新建一个名为 i2c_test.py Python 文件,并将以下代码粘贴到该文件中:
python
from periphery import I2C
import time

I2C_ADDR = 0x3c
I2C_BUS = "/dev/i2c-1"

i2c = I2C(I2C_BUS)

# SSD1306 init_cmds
init_cmds = [
    0xAE,  # Display off
    0x00,  # Set lower column address
    0x10,  # Set higher column address
    0x40,  # Set display start line
    0xB0,  # Set page address
    0x81,  # Set contrast control
    0xCF,
    0xA1,  # Set segment remap
    0xA6,  # Normal display
    0xA8,  # Set multiplex ratio
    0x3F,
    0xC8,  # Set COM output scan direction
    0xD3,  # Set display offset
    0x00,
    0xD5,  # Set display clock divide ratio/oscillator frequency
    0x80,
    0xD9,  # Set pre-charge period
    0xF1,
    0xDA,  # Set COM pins hardware configuration
    0x12,
    0xDB,  # Set VCOMH deselect level
    0x40,
    0x8D,  # Enable charge pump regulator
    0x14,
    0xAF   # Display on
]

for cmd in init_cmds:
    i2c.transfer(I2C_ADDR, [I2C.Message([0x00, cmd])])

def oled_clear():
    for page in range(8):
        i2c.transfer(I2C_ADDR, [I2C.Message([0x00, 0xB0 + page])])
        i2c.transfer(I2C_ADDR, [I2C.Message([0x00, 0x00])])
        i2c.transfer(I2C_ADDR, [I2C.Message([0x00, 0x10])])
        for _ in range(128):
            i2c.transfer(I2C_ADDR, [I2C.Message([0x40, 0x00])])

char_map = {
    "H": [0x00, 0x7F, 0x08, 0x08, 0x08, 0x7F,],
    "R": [0x00, 0x7F, 0x09, 0x19, 0x29, 0x46],
    "e": [0x00, 0x38, 0x54, 0x54, 0x54, 0x18],
    "l": [0x00, 0x00, 0x41, 0x7F, 0x40, 0x00],
    "o": [0x00, 0x38, 0x44, 0x44, 0x44, 0x38],
    "A": [0x00, 0x7C, 0x12, 0x11, 0x12, 0x7C],
    "P": [0x00, 0x7F, 0x09, 0x09, 0x09, 0x06],
    "L": [0x00, 0x7F, 0x40, 0x40, 0x40, 0x40],
    "U": [0x00, 0x3E, 0x40, 0x40, 0x40, 0x3E],
    "X": [0x00, 0x63, 0x14, 0x08, 0x14, 0x63],
}

def string_to_bytes(string):
    bytes_list = []
    for char in string:
        bytes_list.extend(char_map.get(char, [0x00] * 4))
        bytes_list.append(0x00)
    return bytes_list

oled_clear()
hello_world_bytes = string_to_bytes("Hello APLUX")
i2c.transfer(I2C_ADDR, [I2C.Message([0x00, 0xB0])])
i2c.transfer(I2C_ADDR, [I2C.Message([0x00, 0x00])])
i2c.transfer(I2C_ADDR, [I2C.Message([0x00, 0x10])])
for byte in hello_world_bytes:
    i2c.transfer(I2C_ADDR, [I2C.Message([0x40, byte])])

i2c.close()- 在终端中,执行命令运行脚本。
shell
sudo python3 i2c_test.py执行完以上命令后,Oled 会显示 "Hello, APLUX" 的字符。
提示
本文测试,仅演示了一组 I2C 接口,开发者可根据需要使用其他 I2C 接口,使用时请注意 I2C 通道会有变化。
| 组号 | I2C接口 | 备注 |
|---|---|---|
| 1 | PIN 3 (SDA) PIN 5 (SCL) | level shift内置的10k上拉 |
| 2 | PIN 13 (SDA) PIN 15 (SCL) | level shift内置的10k上拉 |
| 3 | PIN 27 (SDA) PIN 28 (SCL) | 外置2.2K上拉电阻 |