ADB Login
Prerequisites
Developers need to prepare the following hardware in advance:
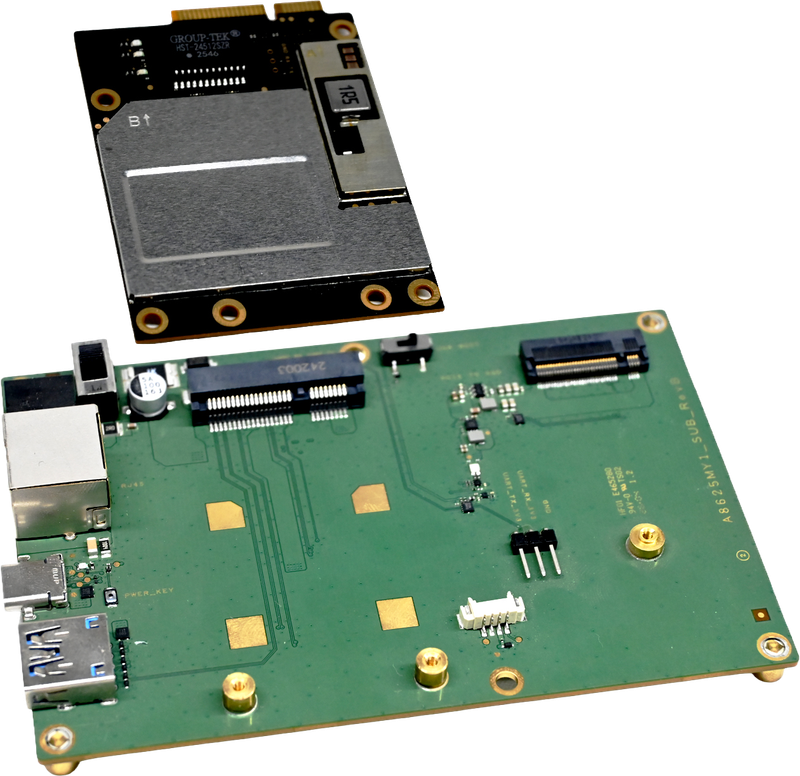
- Mainboard: A8625 core board + debug baseboard
- Power: DC12V 3A power adapter
- Input cable: USB Type-A to Type-C cable
ADB Software Installation
Visit ADB Download and download the ADB package for your platform.
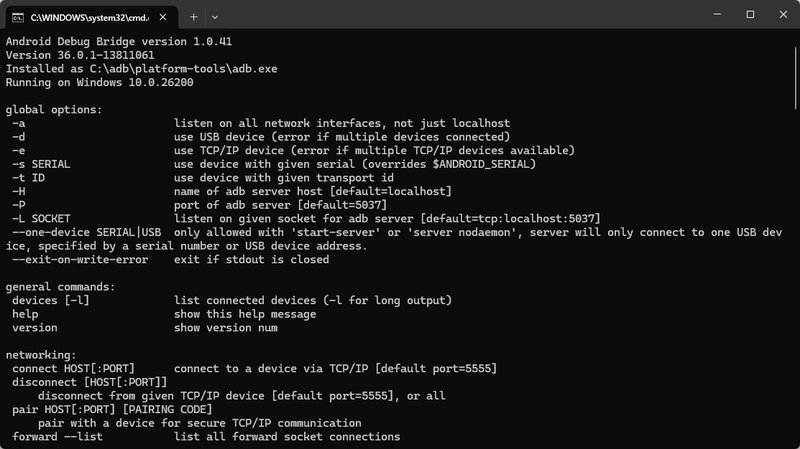
Open a terminal in the ADB folder and run adb. If ADB command help is displayed, the environment is ready.
Boot the Board
- DC jack power (recommended): connect a 12V/3A adapter to J4 on the baseboard.
- Type-C power: if using 12V Type-C input, solder one 22.6K 0402 resistor at the corresponding board location (refer to adapter board hardware documentation), then connect to J10.
- After power-on, the system starts automatically and the serial terminal outputs Linux kernel boot logs.
Connect the Device
Use a USB Type-A to Type-C cable. Connect Type-A to a Windows PC USB port and Type-C to the Type-C debug port (USB-C) on the debug baseboard.
Access the System via ADB
After booting the board, developers can log in to the system using ADB:
adb shellCommon ADB Commands
The following are the most commonly used ADB commands in daily debugging:
adb devices
Purpose: list currently connected and recognized devices to confirm connection status.
adb devicesadb root
Purpose: restart adbd service with root privileges for system-level debugging and file operations.
adb rootadb shell
Purpose: enter device command-line environment and execute Linux commands directly on the board.
adb shelladb push
Purpose: upload files from host to device, commonly for scripts, models, or config files.
adb push ./test.sh /tmp/test.shadb pull
Purpose: download files from device to host, commonly for logs, result files, or config backups.
adb pull /var/log/syslog ./syslogRecommendation
Run adb devices first to confirm the device is online, then use adb root, adb shell, adb push, and adb pull as needed.
Use the System
After successful startup, developers can start using the A8625MY1 system.