Edge Deployment of Qwen3 Series
Introduction
Qwen3 is the latest generation of large language models in the Qwen series, offering a complete suite of dense models and Mixture of Experts (MoE) models. Built on large-scale training, Qwen3 achieves breakthrough advancements in reasoning, instruction following, agent capabilities, and multilingual support.
This chapter demonstrates how to deploy, load, and perform inference with Qwen3 series models on edge devices. Two deployment methods are provided:
- AidGen C++ API
- AidGenSE OpenAI API
In this case, the LLM inference runs on the device side. Relevant interfaces are called through code to receive user input and return conversation results in real-time.
- Device: IQ8275
- System: Ubuntu 24.04
- Model: Qwen3-1.7B
Supported Platforms
| Platform | Operation Mode |
|---|---|
| IQ8275 | Ubuntu 24.04 |
Prerequisites
IQ8275 hardware
Ubuntu 24.04 system
System Dependency Configuration
Configure the AidLux Package Source
# Download the correct public key
sudo wget -O- https://archive.aidlux.com/ubuntu24/public.key | gpg --dearmor | sudo tee /etc/apt/trusted.gpg.d/private-aidlux.gpg > /dev/null

# Edit the source list file
sudo vim /etc/apt/sources.list.d/private-aidlux.list

# Add the repository provided by AidLux to the source file
deb [arch=arm64 signed-by=/etc/apt/trusted.gpg.d/private-aidlux.gpg] https://archive.aidlux.com/ubuntu24 noble main

#  Update the package cache
sudo apt update
After the update is complete, you can use the following command to retrieve the official AidLux SDK dependencies:
sudo apt list | grep aid | grep unknown# Install software
# Must be installed first (not included with the system)
sudo apt install python3 python3-pip libopencv-dev python3-opencv net-tools
# Must be installed before aidlite
sudo apt install aidlux-aistack-base aidrtcm
# Install aidlite and dependencies
sudo apt install aid-lms aidlms-sdk aidlite-sdk cmake
sudo apt-get install libfmt-dev nlohmann-json3-dev
sudo apt install aidlite-*
# DSP support
sudo apt-get install qcom-fastrpc1
sudo apt-get install qcom-fastrpc-dev
# Install aidgen-sdk
sudo apt install aidgen-sdk
sudo apt install aidgen-qnn236
sudo apt install aidgen-qnn240
# Install mms service
sudo apt install aid-mms
# GPU support
sudo apt-add-repository -s ppa:ubuntu-qcom-iot/qcom-ppa
sudo apt install qcom-adreno-cl1
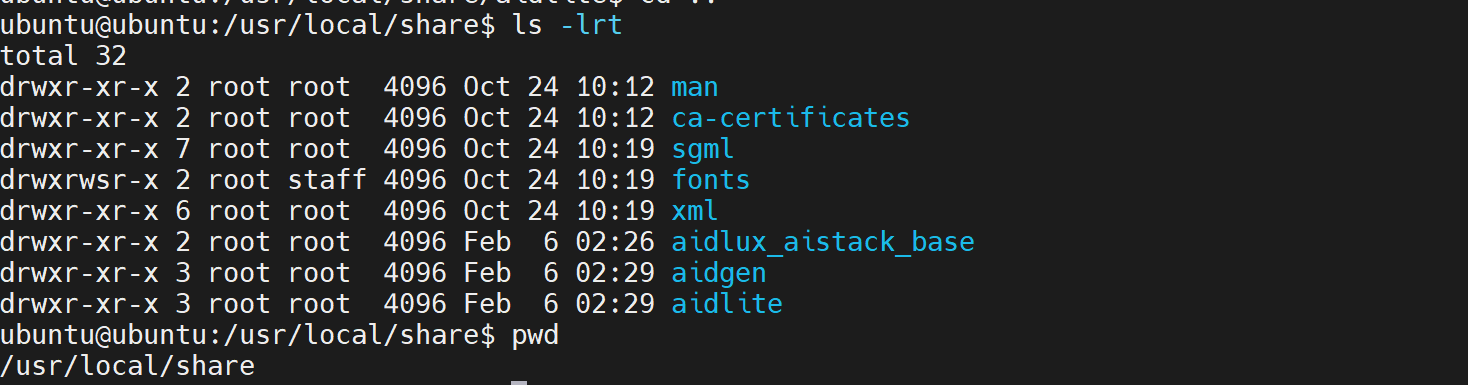
sudo ln -s /usr/lib/aarch64-linux-gnu/libOpenCL.so.1 /usr/lib/aarch64-linux-gnu/libOpenCL.soAfter installation, check that the aidlite and aidgen directories have been added under /usr/local/share:
Device Authorization
Obtain the Device Serial Number
cat /sys/devices/soc0/serial_numberObtain the License File
Provide the serial number to APLUX technical staff to generate a device-specific License file, then place it in the /etc/opt/aidlux/license/AidLuxLics directory.
Activate the License
sudo /opt/aidlux/cpf/aid-lms/manager.sh restartAidGen Case Deployment
Step 1: Copy the AidGen SDK Code Example
# Copy the test code
cd /home/ubuntu/aidllm

cp -r /usr/local/share/aidgen/examples/ ./
Step 2: Download Model Resources
Since Qwen3-1.7B is currently in the Model Farm Preview section, you need to use the
mmscommand to obtain it.
Using mms requires a Model Farm account login. Please visit Model Farm Account Registration
# Login
mms login

# Search for the model
mms list qwen3

# Download the model
mms get -m Qwen3-1.7B -p w4a16 -c qcs8550 -b qnn2.36 -d /home/ubuntu/aidllm/qwen3-1.7b

cd /home/ubuntu/aidllm/qwen3-1.7b
unzip qnn236_qcs8550_cl4096.zip
mv qnn236_qcs8550_cl4096/* /home/ubuntu/aidllm/
Step 3: Create Configuration File
cd /home/ubuntu/aidllm
vim qwen3-1.7b-aidgen-config.json
Create the following json configuration file:
{
    "backend_type": "genie",
    "prefix_path": "kv-cache.primary.qnn-htp",
    "model": {
        "path": [
            "qwen3-1.7b_qnn236_qcs8550_cl4096_1_of_3.serialized.bin.aidem",
            "qwen3-1.7b_qnn236_qcs8550_cl4096_2_of_3.serialized.bin.aidem",
            "qwen3-1.7b_qnn236_qcs8550_cl4096_3_of_3.serialized.bin.aidem"
        ]
    }
}
Step 4: Verify Resource Files
The file layout is as follows:
/home/ubuntu/aidllm
├── chat-think.txt
├── chat-nothink.txt
├── htp_backend_ext_config.json
├── qwen3-1.7b-aidgen-config.json
├── kv-cache.primary.qnn-htp
├── qwen3-1.7b_qnn236_qcs8550_cl4096_1_of_3.serialized.bin.aidem
├── qwen3-1.7b_qnn236_qcs8550_cl4096_2_of_3.serialized.bin.aidem
├── qwen3-1.7b_qnn236_qcs8550_cl4096_3_of_3.serialized.bin.aidem
├── examples
Step 5: Build and Run
cd /home/ubuntu/aidllm/examples
# Build
mkdir build && cd build
cmake .. && make
mv test_text_only /home/ubuntu/aidllm/
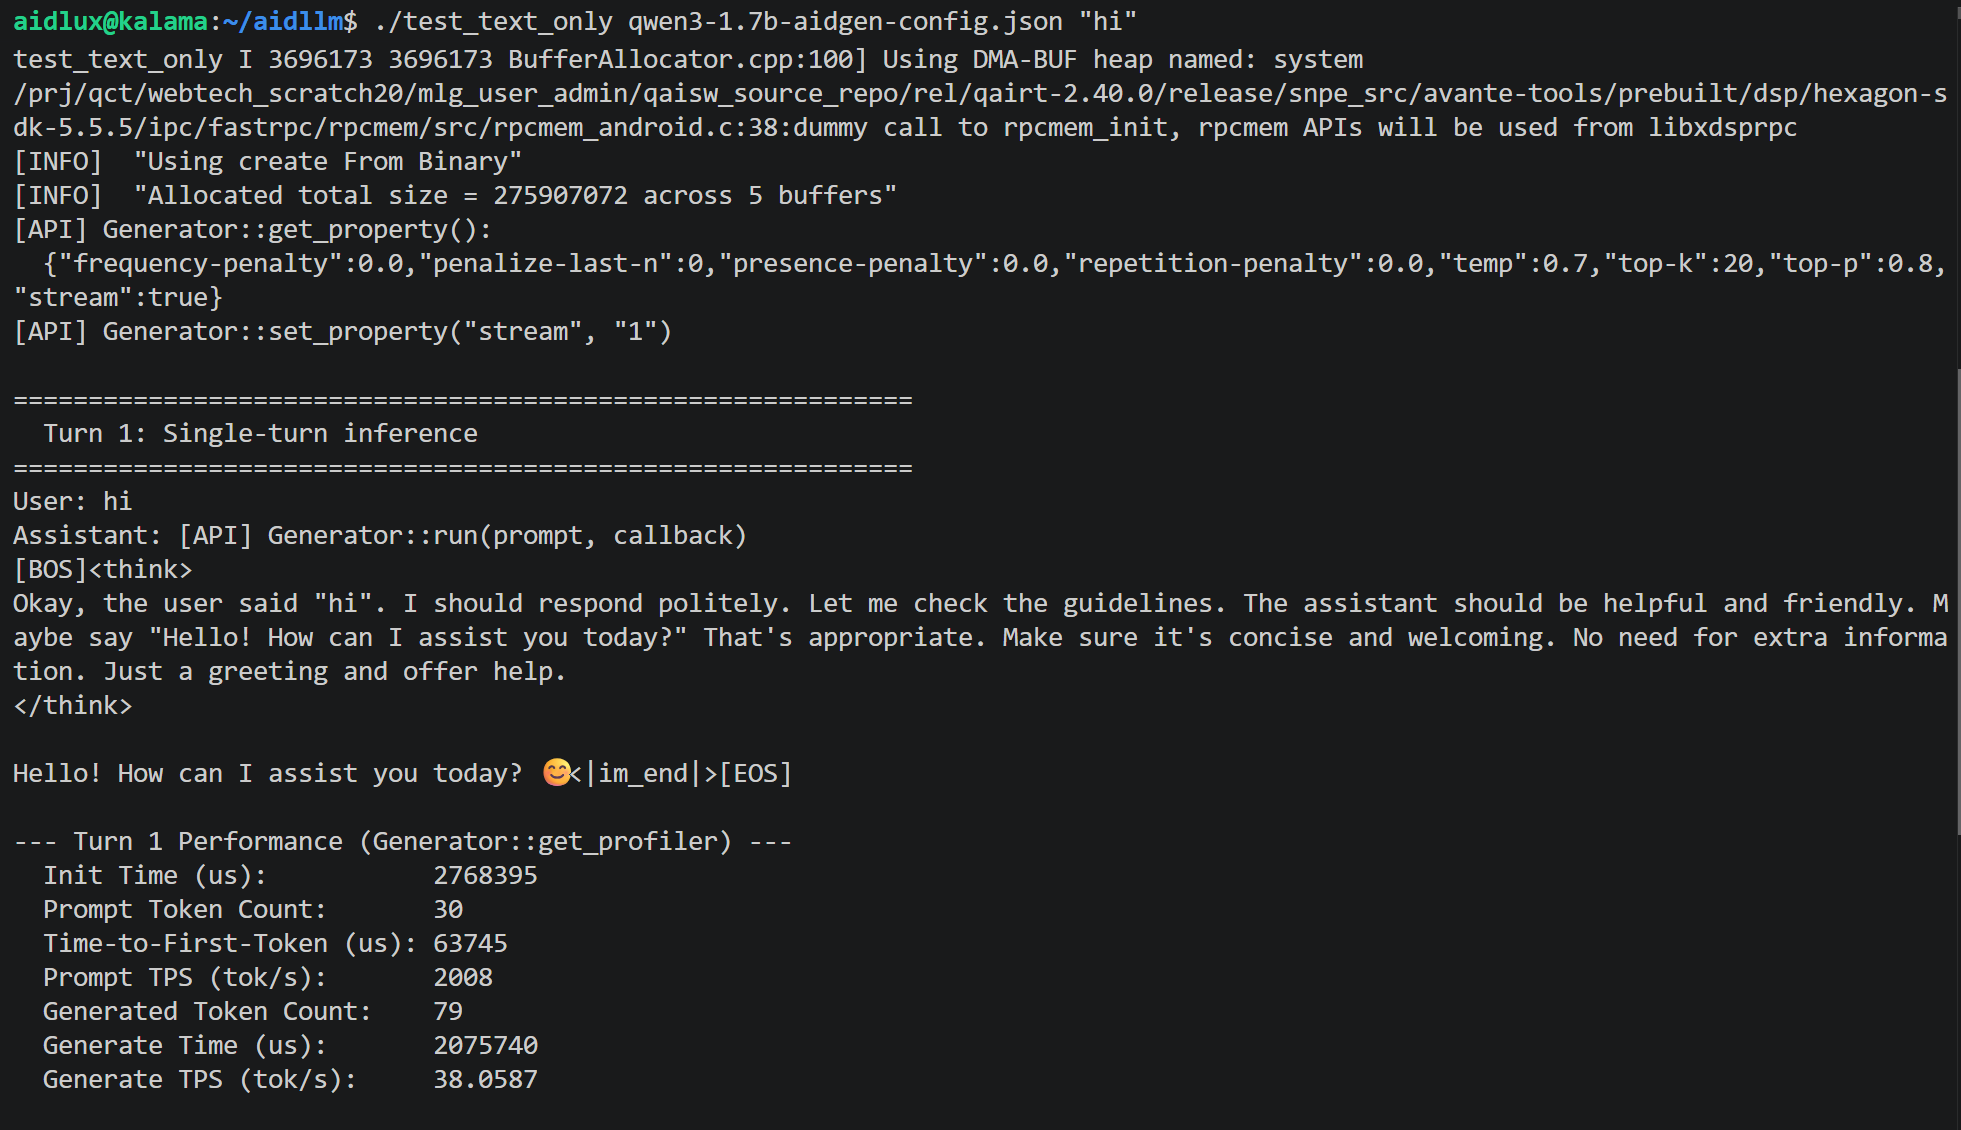
cd /home/ubuntu/aidllm/
./test_text_only qwen3-1.7b-aidgen-config.json "hi"